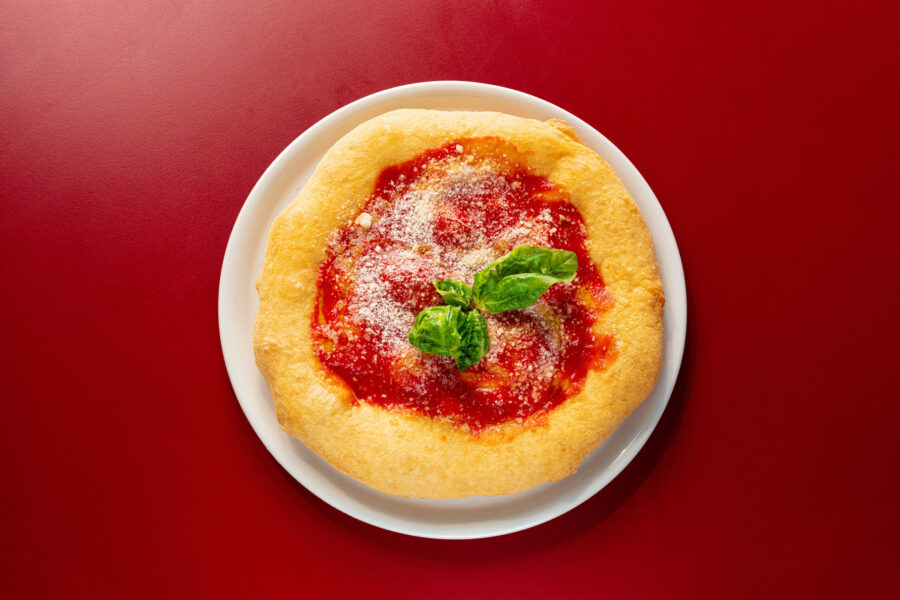
Q: Can you tell me how to make a light textured pan-style pizza?
A: This is getting to be a more frequent request all the time. For many operators, thin-crust pizza has been their mainstay. But now it appears that more and more customers are requesting a thicker version of their longtime favorite, leaving some operators asking: “How do I do that?” It seems that for some, the answer was to just double up on the dough weight for the crust and call it good, but this appears to miss the customer expectations as they want something lighter to eat. This takes us to the need to proof the dough, or allow it to rise in the pan for a period of time before dressing and baking the pizza. But now this brings us to another dilemma: once the dough is proofed in the pan, it must be used within a relatively short period of time or the dough can over proof and collapse under the weight of the toppings. The answer to this is to manage the thick crust dough from the retarder/ cooler. To do this effectively we need to begin with the dough formulation. I’m showing a dough formulation as an example of what this dough might look like. you can use the formulation shown below, or you can modify your existing dough formulation.
Flour (11.2 to 12.8 percent protein content):
100 percent Salt:
1.75 percent Sugar:
2 percent Oil/Shortening:
2 percent Yeast: (IDY: 0.25 percent);
(ADY: .375 percent);
(Fresh/ Compressed: .75 percent)
Water (70 F): 55 percent
Note: Ingredient amounts are shown in baker’s percent, with the weight of each ingredient expressed as a percentage of the total flour weight.
The dough can be mixed and managed in the same manner as your thin crust dough, but when the dough goes into the pan, this is where the differences show up.
To make a pan style or deep-dish pizza, place the dough into an oiled or greased dark-colored baking pan and then cover it and set it aside to proof/rise. If the dough will be used
soon after proofing, it can be given full proof, meaning that the dough can be proofed to something between two and three times its thickness when placed in the pan and then dressed and baked.
For most of us though, this will prove to be problematic as we try to maintain a working inventory of dough throughout the day. To address this, we can allow the dough to proof/rise to no more than 75 to 100 percent of its thickness when initially panned. The dough is then taken to the cooler and placed into a tree rack for thorough cooling. During this time, it will continue to proof/rise until fermentation is arrested by the temperature of the cooler. The pans of dough can now be covered to prevent drying. Typically, this takes about an hour in the cooler to accomplish. we can then cover the dough by placing a plastic bag over the tree rack. In this condition, the dough can normally be held in the cooler for up to 24 to 36 hours.
To use, remove a pan of dough from the cooler, dress it to the order and bake. Because this dough may be colder than your normal dough, it might be necessary to adjust the baking time and/or temperature slightly for thick crust pizzas when managed in this manner. If you use a deck oven, I’ve found it useful to begin baking these pizzas with an aluminum screen under the pan for the first two to three minutes, and then finish baking directly on the oven hearth as this allows the dough portion to warm more gradually, thus reducing the potential for bubble formation during baking. If you’re using an air impingement oven and have more than one deck, I would suggest trying to dedicate one of the decks to thick crust pizza production by lowering the temperature to 425 to 440 F, while extending the baking time to ensure a thoroughly baked pizza (typically 8 to 10 minutes). That colder dough just needs a little more time to get thoroughly baked.
In case you’re wondering how much dough to use when making a thick crust pizza, a general rule is to increase the dough scaling weight by approximately 25 percent. Thick crust pizzas can help to improve your bottom line too. When you consider that the only real difference between a thin crust and thick crust pizza is in the amount of dough used for the crust, and that dough is probably your cheapest “ingredient”, if you sell a 12-inch thick crust pizza for a premium, your actual cost was only about five cents more. Rack up that 95-cent profit to the extra handling needed for the thick crust pizza.
Q: How can we make a great tasting, healthier option to our regular pizza crust?
A: I was recently on an assignment where that very same question was asked. I normally suggest a multigrain type crust. But in this case, we couldn’t get a multi-grain blend so we had to make our own from ingredients available at the local supermarket. To make our own multi-grain blend we purchased a bag of whole-wheat flour, old fashioned oatmeal, flax seeds and sunflower seeds. Using their regular thin crust dough formula, I replaced 25 percent of the flour with our home brewed multi-grain blend, consisting of 100 percent wholewheat flour, 17.6 percent oatmeal, 17.6 percent flax seeds and 17.6 percent sunflower seeds. This was combined in a bus tub where we added an equal weight of warm (90F) water and stirred the mix just to allow for hydration. It was set aside and allowed to hydrate for one hour. The hydrated multi-grain mix was added to the mixer along with the remainder of the dough ingredients. (Note: The dough water was reduced to 37 percent of the weight of white flour added. The hydrated multi-grain blend was added as an ingredient in this application).
The dough was mixed for 75 percent of the regular dough mixing time. It was then immediately taken to the bench for scaling and balling. We adjusted the scaling weights 15 percent heavier to allow for the multi-grain blend in the dough. From this point on, the dough was managed in the same manner as their regular pizza dough. The resulting pizza crusts had a wonderfully nutty flavor and slightly rough appearance that was well received by their customers.
Tom Lehmann is a director at the American Institute of Baking in Manhattan, Kansas.