 Late Tom Lehmann, Dough Expert shares insights on how to control temperatures to create a more consistent pizza
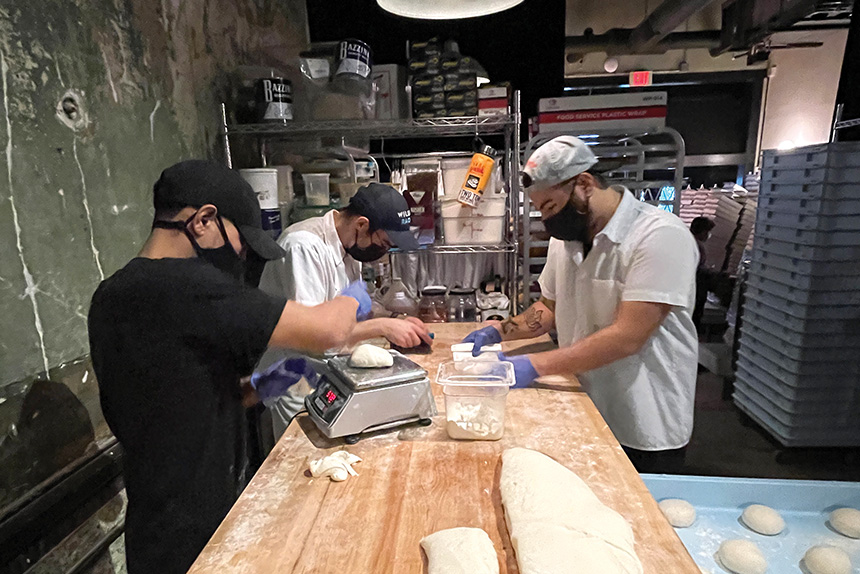
One commonly overlooked aspect of dough management is that of temperature control. Temperature, temperature, temperature — our life in the store revolves around temperatures. The temperature of the cooler and oven, the holding temperature of the food on the lunch buffet, the temperature of the freezer, even the temperature of the room is generally known and regularly monitored, but temperatures as they relate to the dough are seldom, if ever, taken. If you are one of those who do take the temperature of anything that will allow you to stick a thermometer into it, I applaud you. Otherwise, read on.
Dough is made with yeast, and yeast is a living organism (just like us). And just like us, it responds to its environment in a predictable manner. In general, higher temperatures accelerate yeast activity and lower temperatures depress it.
If you use active dry yeast you must rehydrate and activate it before adding it to the mixing bowl. This is done using warm water at 100 to 105F. If the temperature is outside of this range damage can be done to the yeast. This will adversely affect the performance of the dough. The same can be said for instant dry yeast. While not generally rehydrated, in some instances it is necessary to rehydrate it prior to use — such as when the vertical cutter mixer is used and very short mixing times are employed (75 to 120 seconds). With active dry yeast the recommended water temperature for rehydrating the yeast is 95F. It is well recognized that if this water temperature is off by only 5F, measurable damage to the yeast will be sustained. This just can’t be good for dough consistency. The best way to guarantee that the water is at the correct temperature for rehydrating the yeast is to use a thermometer to measure the water temperature before adding the yeast to it.
What is the finished dough temperature and how do I find it?
Then there is the finished dough temperature. This sets the stage for the way the dough will perform during our dough management period (and to a great extent it will also influence the way the dough handles during forming and even the way it bakes up). There are a lot of things hinging on the finished dough temperature that are all very important to us, so is it any wonder that this could possibly be the single most important temperature there is to measure?
When we add the ingredients to the mixing bowl each ingredient has its own temperature, then when the dough is mixed, friction is developed between the moving dough and the sided of the mixing bowl. This friction raises the dough temperature during mixing.

The temperature of the room also influences the finished temperature of the dough. To control the temperature of the dough we typically adjust the temperature of the water that is added to the dough. In most cases a finished dough temperature of 80 to 85F is desirable. So the question that now begs to be asked is how do I know what the water temperature needs to be to give me the desired finished dough temperature?
There is a simple formula that can be followed to give you that “magic” number. Here it is: 3 X desired finished dough temperature minus the sum of the flour temperature, room temperature and friction factor. There is a formula for figuring the friction factor too, but space does not permit me to go into those details at this time so we will use the number “30” for our friction factor. Here is a typical working example of the formula: We want our finished dough temperature to be 80F. The room temperature is 75F, the flour temperature is 72F. Our formula at work: 3 X 80 = 240. Next, subtract the sum of 75 + 72 + 30, which is 177. This gives us 63 (240 minus 177). The correct water temperature to add to this dough would be 63F. If you need to make any further adjustments to the water temperature to get the finished dough temperature right where you want it, adjust the water temperature in 5F increments either higher or lower and you will be able to steer the finished dough temperature to where you want it.
The finished dough temperature is so important because it sets the stage for the way the dough will perform during the forming and baking stages. If the dough temperature is too high you may experience problems with either wet doughs due to sweating or blown doughs due to excessive fermentation. If the finished dough temperature is too low the dough may not receive sufficient fermentation within the time allocated and the dough will be difficult to shape (not to mention the problems you can then experience with excessive dough memory or snap-back). If you are making pan style pizzas the dough temperature is doubly important since it can impact the length of time needed for the dough to rise (proof) to a specific height in the pan. An old trick worth mentioning here is to use one of the hot presses to form the dough skins for pan style pizzas.
The heat imparted to the dough piece during the forming operation helps to significantly reduce the time needed for the dough to rise in the pan. In some cases we have been able to eliminate the need for a final proofer (temperature and humidity controlled cabinet) when hot pressing pan style pizzas and instead just place the pans of heated dough onto a vertical pan/tray rack and cover it with a rack cover or bag and get acceptable dough proofing.
Explore answers to common pizza dough questions. From soggy or undercooked crust to sticky, weak, or overproofed dough, the Troubleshooting Dough Guide explains what typically causes each issue and looks at possible solution. Explore Troubleshooting Your Pizza Dough now!
 What’s Wrong With My Pizza Dough?
As you can see, temperatures are important as it pertains to our doughs. It’s a good idea to record the room temperature, flour temperature, and the water temperature for every dough that we make.
This will allow you to, at a glance, determine the room and flour temperatures and see what water temperature was previously used to achieve the target dough temperature. If you watch, record, and maintain your dough temperature you will be well on your way to producing more consistent performing doughs and more consistent, high quality finished pizzas.
The Late Tom Lehmann was the director at the American Institute of Baking in Manhattan, Kansas and Pizza Today’s resident dough expert.
