Get a Classic Beef Empanada Recipe
Here is a classic beef empanada recipe to experiment with. Pro Tip: You can add the beef filling as a specialty pizza topping.
For the Empanada Dough:
Classic Beef Empanada Recipe DOUGH
Author: Pizza Today
Ingredients
- 3 cups all-purpose flour
- ½ cup cold, unsalted butter, cubed
- 1 teaspoon salt
- 1 teaspoon sugar
- ⅔ cup cold water
Instructions
- Combine flour, salt and sugar in a large bowl.
- Mix in the cold butter until the mixture forms a coarse, crumbly texture.
- Gradually pour in the cold water, mixing until a dough forms. Avoid overworking the dough.
- Form the dough into a disk, wrap in plastic wrap, and refrigerate for at least 30 minutes while preparing the filling.
For the Empanada Beef Filling:
Classic Beef Empanada Recipe BEEF FILLING
Author: Pizza Today
Ingredients
- 2 tablespoons olive oil
- ½ pound ground beef
- 1 small onion, finely chopped
- 2 garlic cloves, minced
- ½ teaspoon ground cumin
- 1 teaspoon smoked paprika
- ½ teaspoon chili powder (optional)
- ¼ teaspoon ground black pepper
- 10 green olives, sliced
- Salt to taste
Instructions
- Heat olive oil in a skillet over medium heat.
- Add chopped onion and garlic, cooking until softened and fragrant.
- Add the ground beef and cook, breaking it up with a spoon until browned and fully cooked.
- Stir in cumin, paprika, chili powder (if using), salt and pepper.
- Mix well to coat the beef with spices until everything is well combined.
- Adjust seasoning as needed. Remove from heat and allow to cool.
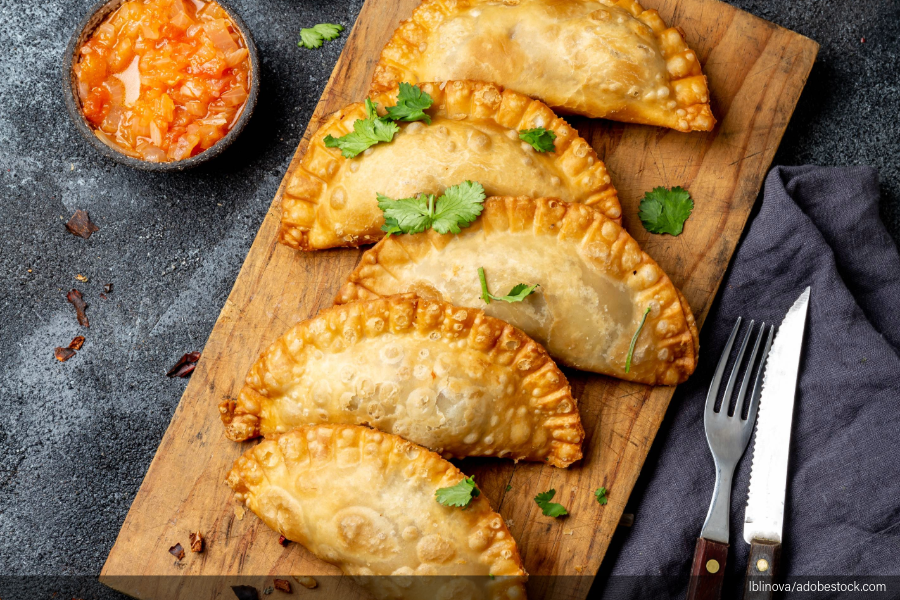
For the Empanadas:
Classic Beef Empanada Recipe
Author: Pizza Today
Ingredients
- Empanada Dough (Recipe Above)
- Beef Filling (Recipe Above)
- 1 egg (beaten, for egg wash)
Instructions
- On a floured surface, roll out the chilled dough to about ⅛-inch thickness.
- Use a 4-5-inch round cutter to cut out circles. Place about 1 tablespoon of filling onto the center of each circle.
- Fold the dough over the filling into a half-moon shape.
- Press the edges firmly with your fingers and crimp with a fork to seal.
- Brush beaten egg over the tops for a golden finish.
