The Dough Doctor talks stuffed-crust pizza, pan rising

Tom Lehmann
Dough Expert
Q: What’s the difference between hand-tossed dough versus pan-risen dough?
A: This is a really interesting question that was directed at me recently. Dough that has been hand-tossed/stretched has much of the gas created during fermentation still entrapped within the dough structure. This results in a desirable open, porous crumb structure that is conducive to achieving a good bake, maximum crispiness and tender eating characteristics.
When the opened dough is placed into a pan and allowed to rise, the entrapped gas cells are allowed to further expand, creating a potentially thicker crust with the open porosity needed to achieve the maximum crispiness.
One application where the rising time (also known as proofing) comes into play is when the pizza skins are formed using a sheeter. For all practical purposes, this severely degasses the dough and sets the stage for a dense, heavy finished crust. But if the formed skin is allowed to rise/proof between forming and baking, much of the structure in the dough created by the gas cells can be restored. Over the years I’ve found that most thin-crust dough skins formed using a sheeter will benefit from 15 to 20 minutes rising/proofing time. Meanwhile, thick crust and pan-style skins typically require something in the 45- to 60-minute range.
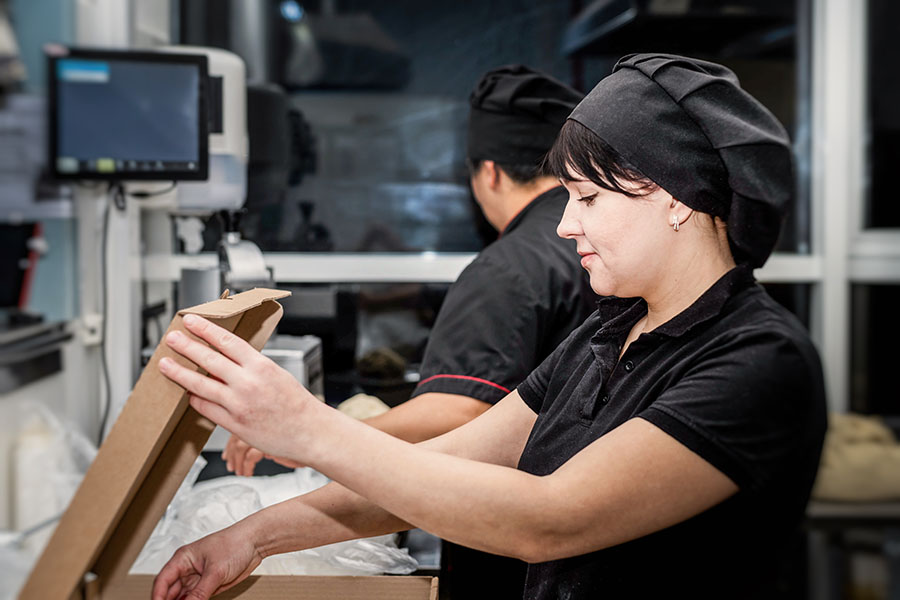
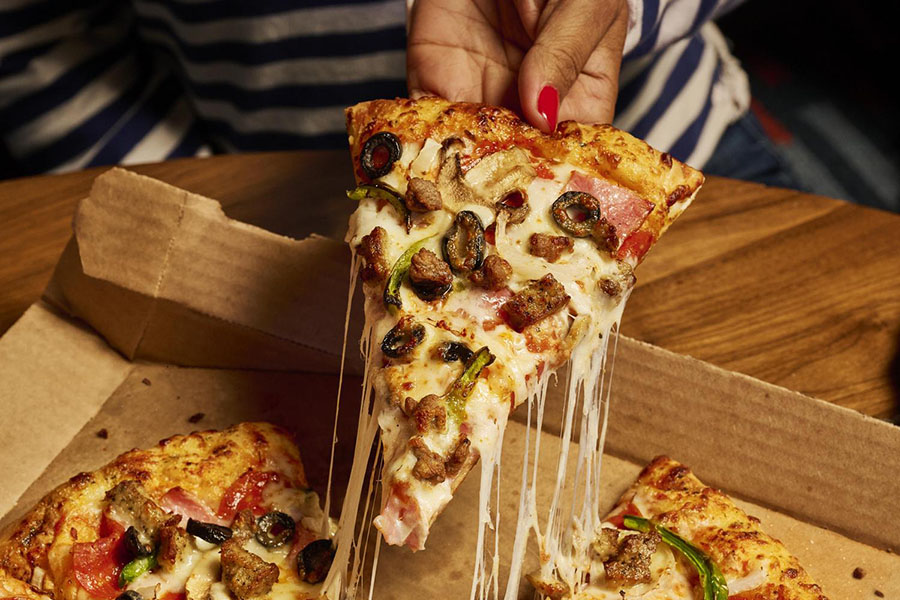
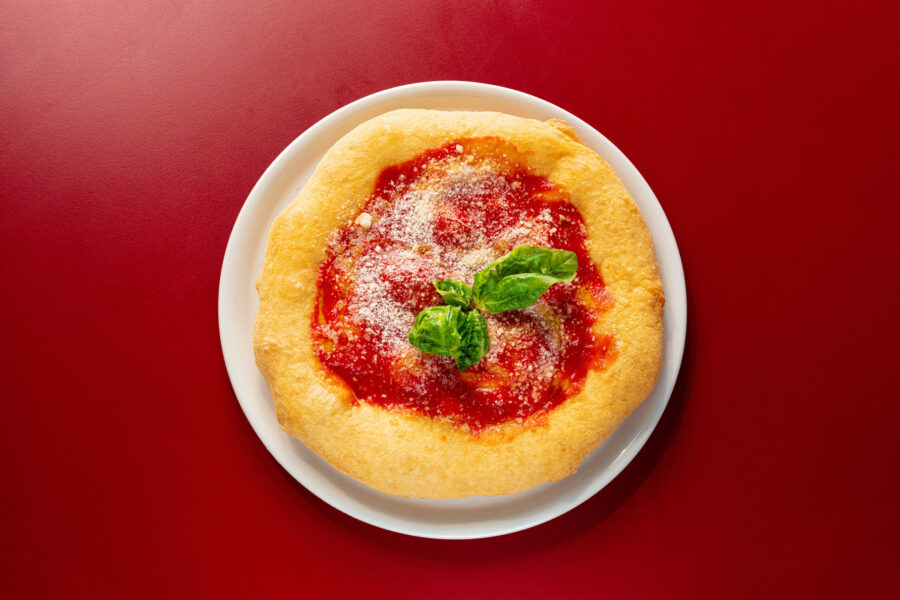
 While once all the rage, stuffed-crust pizza is still a popular item at many pizzerias and I continue to get questions on making it. Stuffed-crust pizza can be made as either a pan-style (most common) or as a more traditional pizza. Either way they are relatively easy to make. While just about any type of dough can be used, a softer dough utilizing around 60-percent absorption and 2- to 4-percent added oil seems to work the best.
For a pan-style stuffed crust, the dough is best when opened using a sheeter or a rolling/pie pin to achieve a uniform thickness across its entire diameter. You will need to adjust the diameter of the skin that you are opening to two inches larger than the diameter of your pan. This will allow the dough to be placed across the bottom of the pan and roughly 1 inch up the sides of the pan. This is more easily accomplished if you use shortening/margarine or butter in the pan as opposed to oil.
Once the dough is fitted into the pan, press string cheese into the bottom corner of the pan, pulling it tight to the side of the pan. Or you can also make your own string cheese for this purpose by cutting a block of cheese (your favorite pizza cheese will work fine) into length-wise strips measuring ½-inch square. If you don’t have any string cheese or block cheese on hand, you can also use shredded or diced cheese. Just carefully position a bead of cheese around the bottom corner of the pan and you’re good to go.
While on the topic of using shredded or diced cheese in this application, this is where I like to get creative by using a blend of different types of cheese rather than just mozzarella. For example, using a disposable pastry decorating bag filled with creamy ricotta cheese, place a ring of ricotta into the bottom corner and then add mozzarella or provolone cheese for an extra creamy presentation. Lately I’ve been experimenting with adding chopped fresh basil to the Ricotta for even more flavor appeal.
Once you have the cheese positioned in the pan, fold the dough that is standing vertical on the wall of the pan down over the cheese and tuck it tight to the cheese while pulling it tightly to the pan. This will help to seal the cheese within the edge of the dough, eliminating the possibility of the cheese leaking out during baking. You’re now ready to begin dressing the dough to order.
For baking these pizzas I have found that when a deck oven is used the best results are achieved when the pan is placed on a pizza screen. This will allow for sufficient baking time to thoroughly melt the cheese in the crust without fear of getting the bottom of the pizza too dark. If you’re using an air impingement oven a lot will
depend upon the finger profile that you are using, so I would suggest starting out baking the pizza as you normally would. If the cheese in the crust still needs a little more time, reduce the oven temperature by 25 F and increase the baking time by roughly two minutes. That should get you pretty close to where you need to be.
To make a traditional pizza with cheese in the crust, you can open the dough to diameter using your preferred method — but be sure to open the dough to a diameter at least two inches larger than what you want the finished pizza to be. I like to place the opened dough skin onto a short-handled, wooden prep peel that has been lightly dusted. Apply the cheese in a ring around the dough piece, keeping the cheese about an inch away from the edge of the dough. Fold the outer edge of the dough over the cheese, crimping it tightly to the bottom dough inside the cheese ring. Be sure to snug the dough tightly to the cheese, as this will prevent large air gaps or bubbles in the edge with the cheese. Now, peel the prepared dough skin onto a pizza screen or disk for baking, dress the skin to order and bake as you do your regular pizzas.
Using a screen/disk rather than baking right on the deck slows the baking process enough to ensure achieving thorough melting of the cheese in the edge. If your customers love cheese, they’re going to really take a shine to your cheese-in-the-crust pizzas. Don’t be afraid to experiment, and adding fresh herbs to the cheese really turns these pizzas into one of a kind. Like I always say: Dare to be different!
Tom Lehmann is a former director at the American Institute of Baking in Manhattan, Kansas and Pizza Today’s resident dough expert.